When you’re planning any wedding or elopement, it’s important to know exactly when all of your festivities are taking place. This is why most couples create a timeline – not just for themselves, but to share with their kickass vendor team! In this blog, I’ll be sharing my expertise on how to create a destination elopement timeline for couples who want to celebrate at an epic location. Let’s get into it!
Thoroughly research your destination
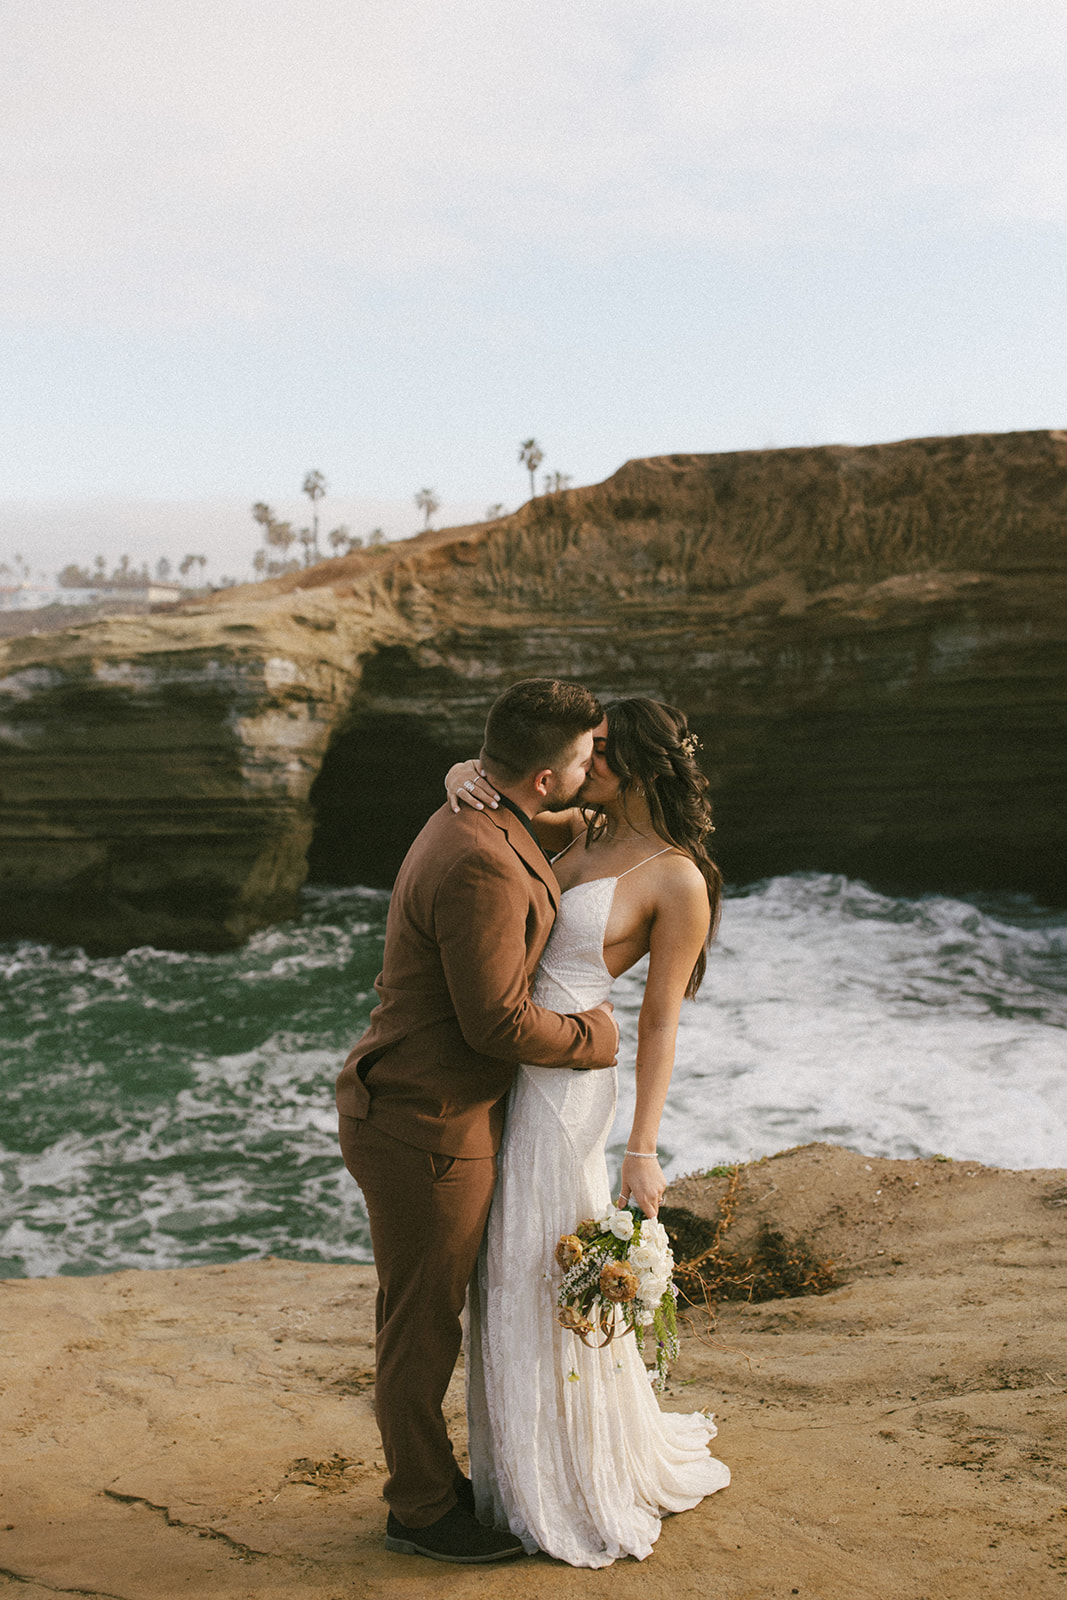
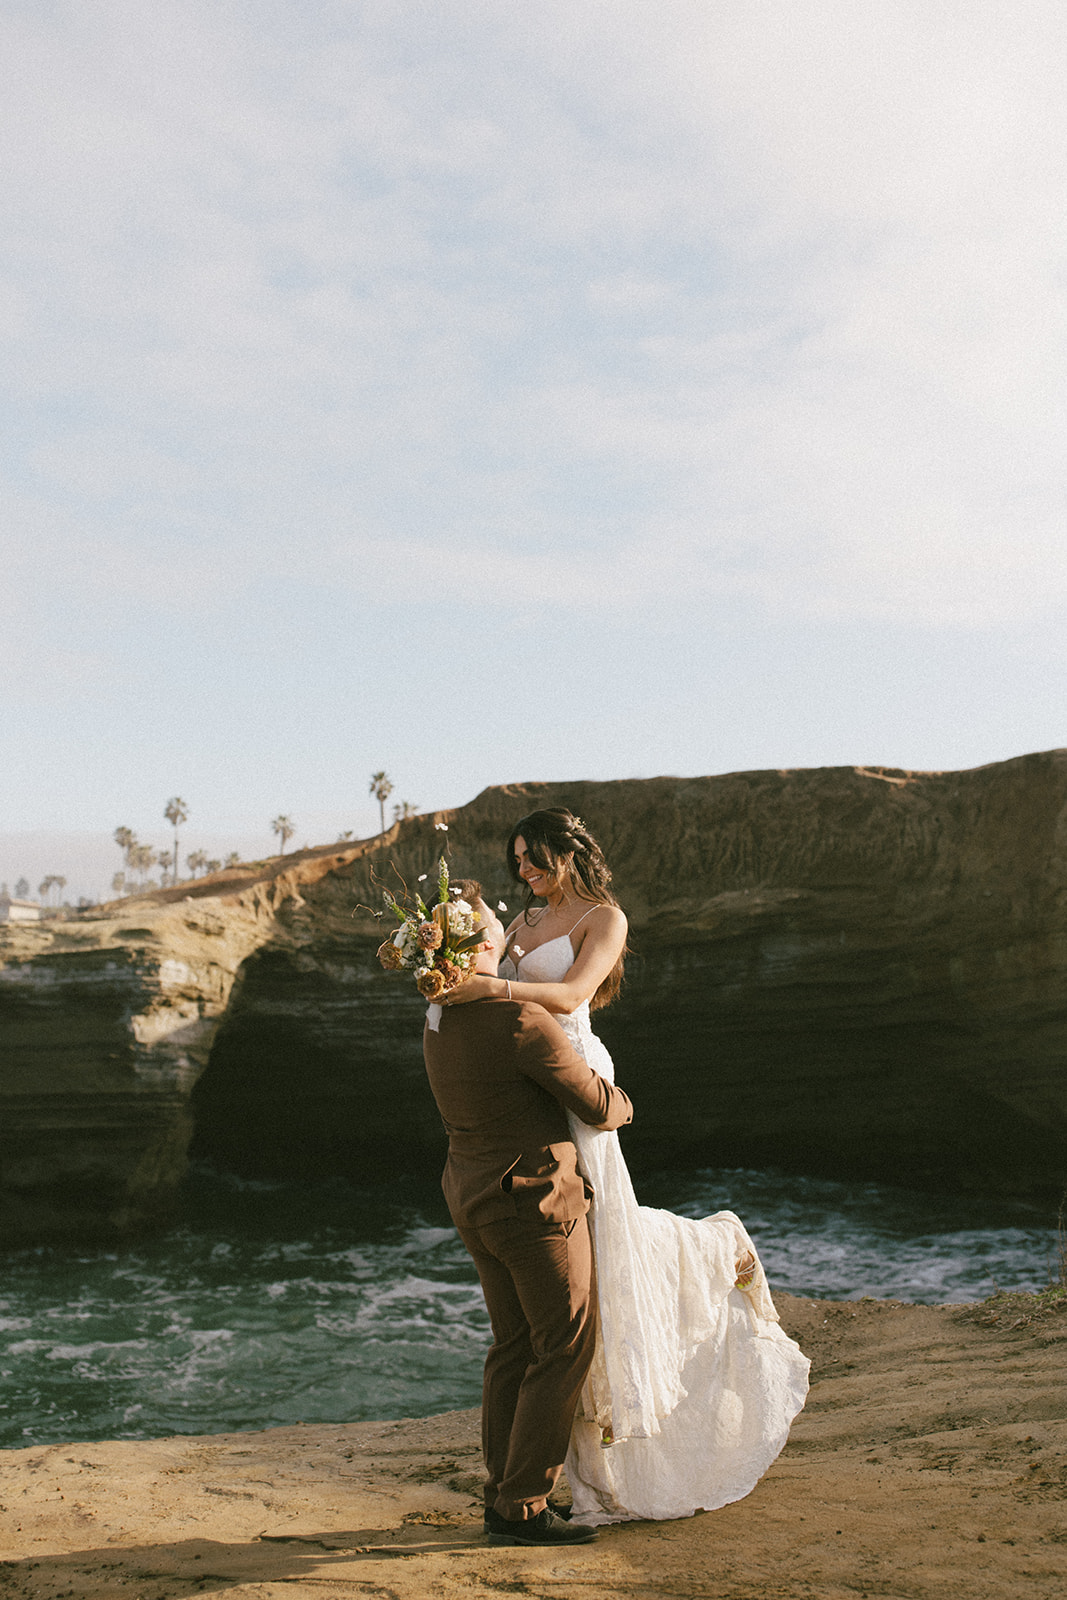
First off, you’ve got to pretty thoroughly research your elopement destination. We don’t want any surprises on your elopement day! This research includes finding info on what time the sun will be rising and/or setting, what the weather is going to be, and what the traffic situation will most likely be. When it comes to weather, that aspect of planning can be the most unpredictable factor, but having a baseline is always better than nothing! If you’re doing this in advance, focus more on the season. For example, if you’re eloping in Puerto Rico, let’s try and stay away from planning your elopement during hurricane season, ya feel?
Another thing to research is permit information if you’re eloping at an outdoor location (ie: a national park, botanic garden, public beach, rooftop, or other iconic outdoor locations). This is something that I can absolutely help you out with, as I’m pretty familiar with the permit process myself. Going along with this, we’ll need to figure out what time your location is open to the public and if we need to designate a time window with the organization, or if we can arrive with our permit at any time of the day.
Plan for travel
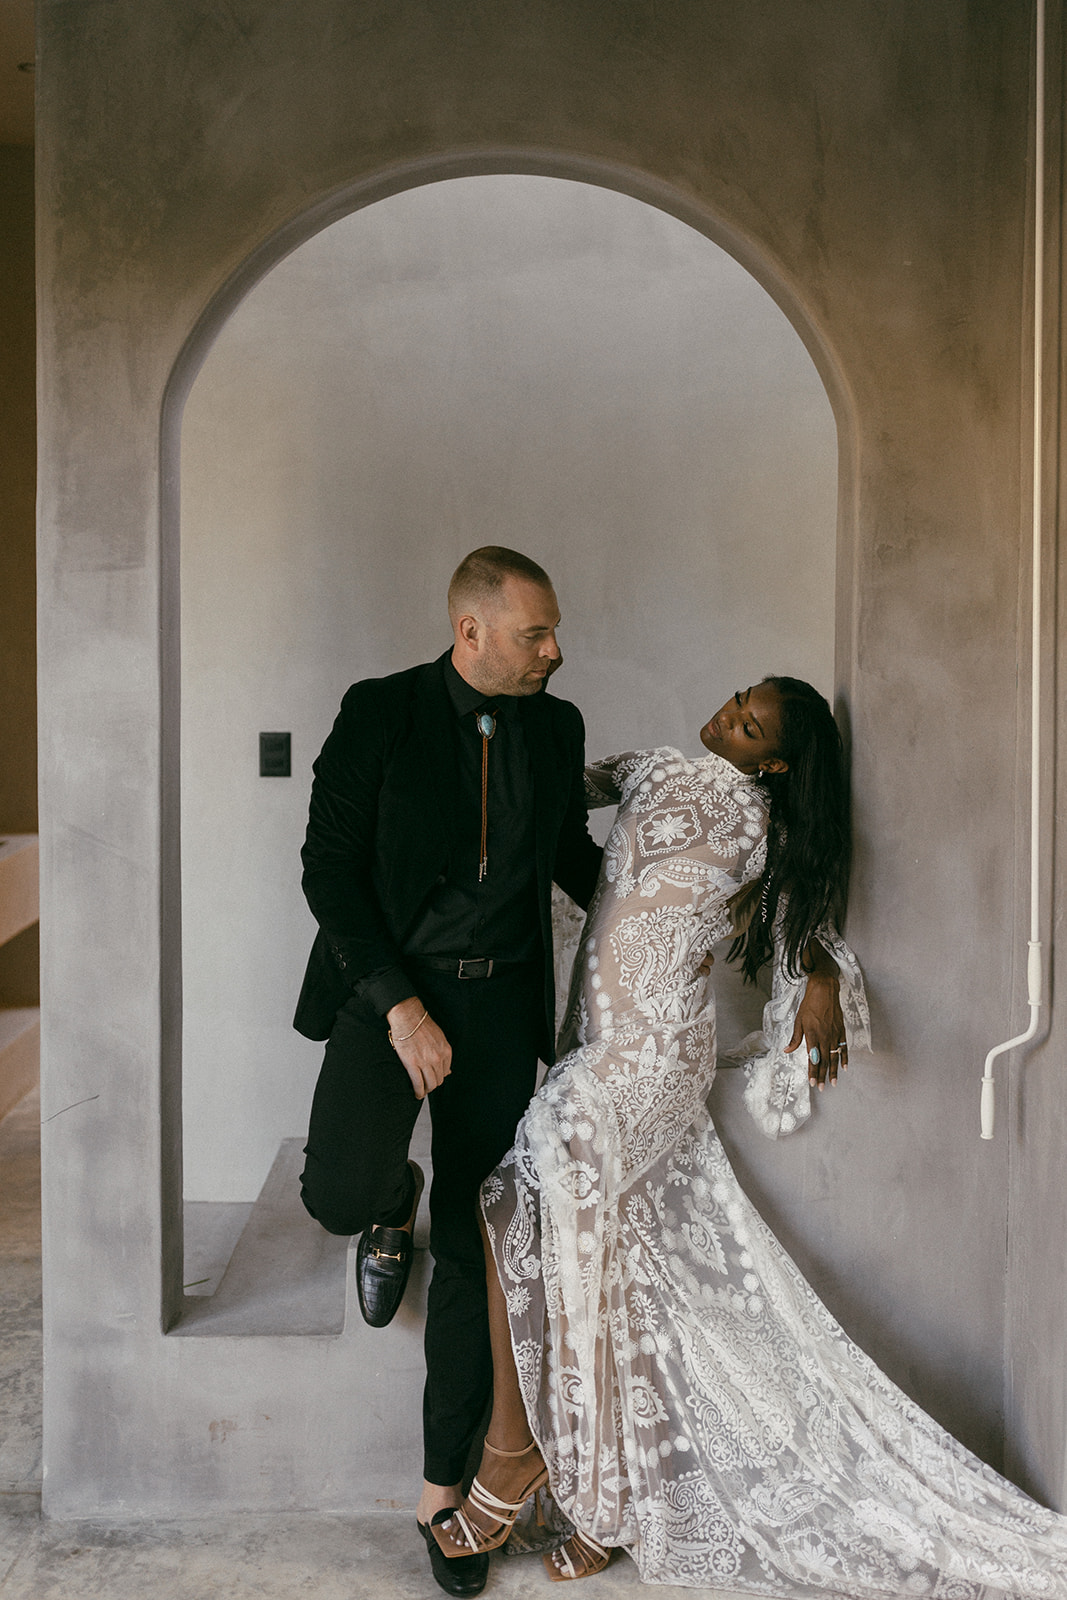
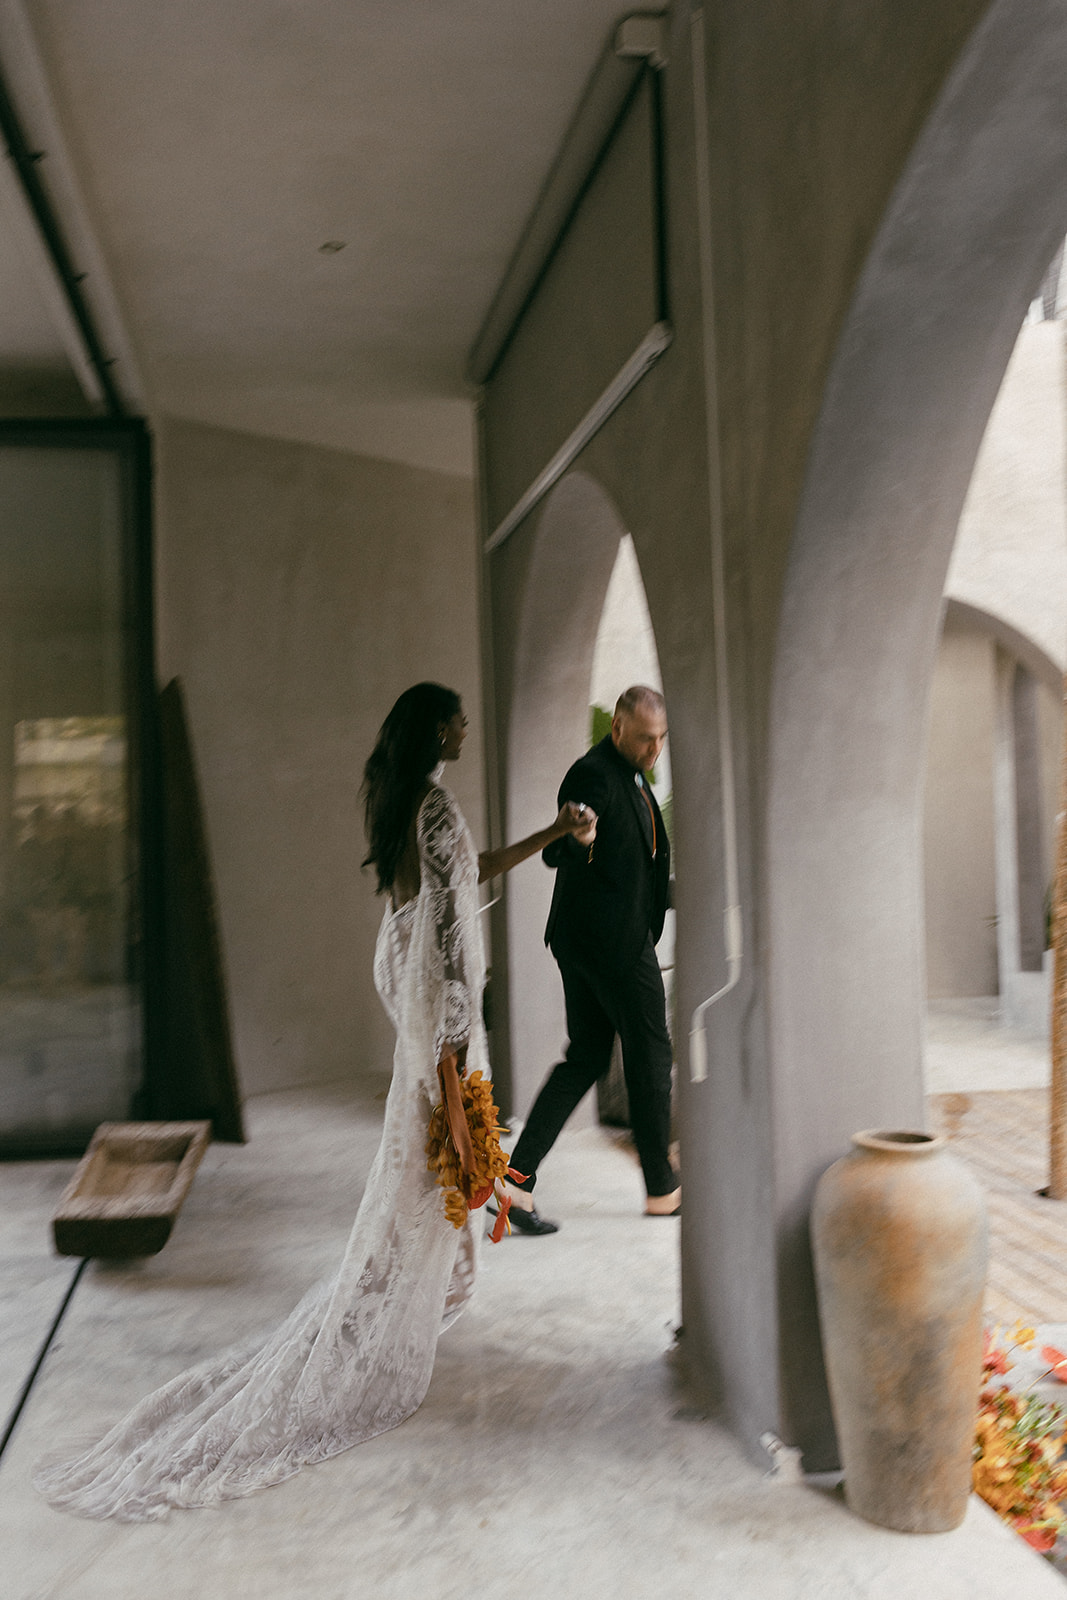
The thing about destination elopements is that most of the time, you’re not familiar with driving time or distance between different locations. When building your timeline, figure out if your elopement location will be the same as your photo location or if we need to travel to a different spot! Are there multiple elopement photo locations throughout the day? Remember, planning for extra travel buffer time is ALWAYS better than not having enough. This part can easily get overlooked in the timeline creation process when you’re usually thinking about the absolute best-case scenario. Factoring in this extra time will save you plenty of headaches later on!
Moving on, go back to your research on if your destination elopement location is in a crowded or heavily trafficked area and what is happening during the day you have planned. If it’s a holiday weekend, there’s a music or cultural festival, some big sporting event, etc…could all affect travel times! This will majorly impact our travel time, so we might need to allocate even more to compensate! In addition, where is your getting ready location? If you’re starting at a hotel or Airbnb, then research the drive time between your getting ready and ceremony location. If you’re getting ready at your elopement spot, then are hair and makeup coming with you? Or do you need to finish that back at your lodging spot?
And don’t forget to think about your international travel! Consider the few days leading up to your elopement. Are you allocating a day (or two) of rest to make up for the jetlag, or are you running headfirst into your destination elopement activities? Do you have plenty of time between your arrival day and your elopement day in case your flight(s) are delayed? These are things you’ve gotta think about!

Communicate + coordinate with your vendors
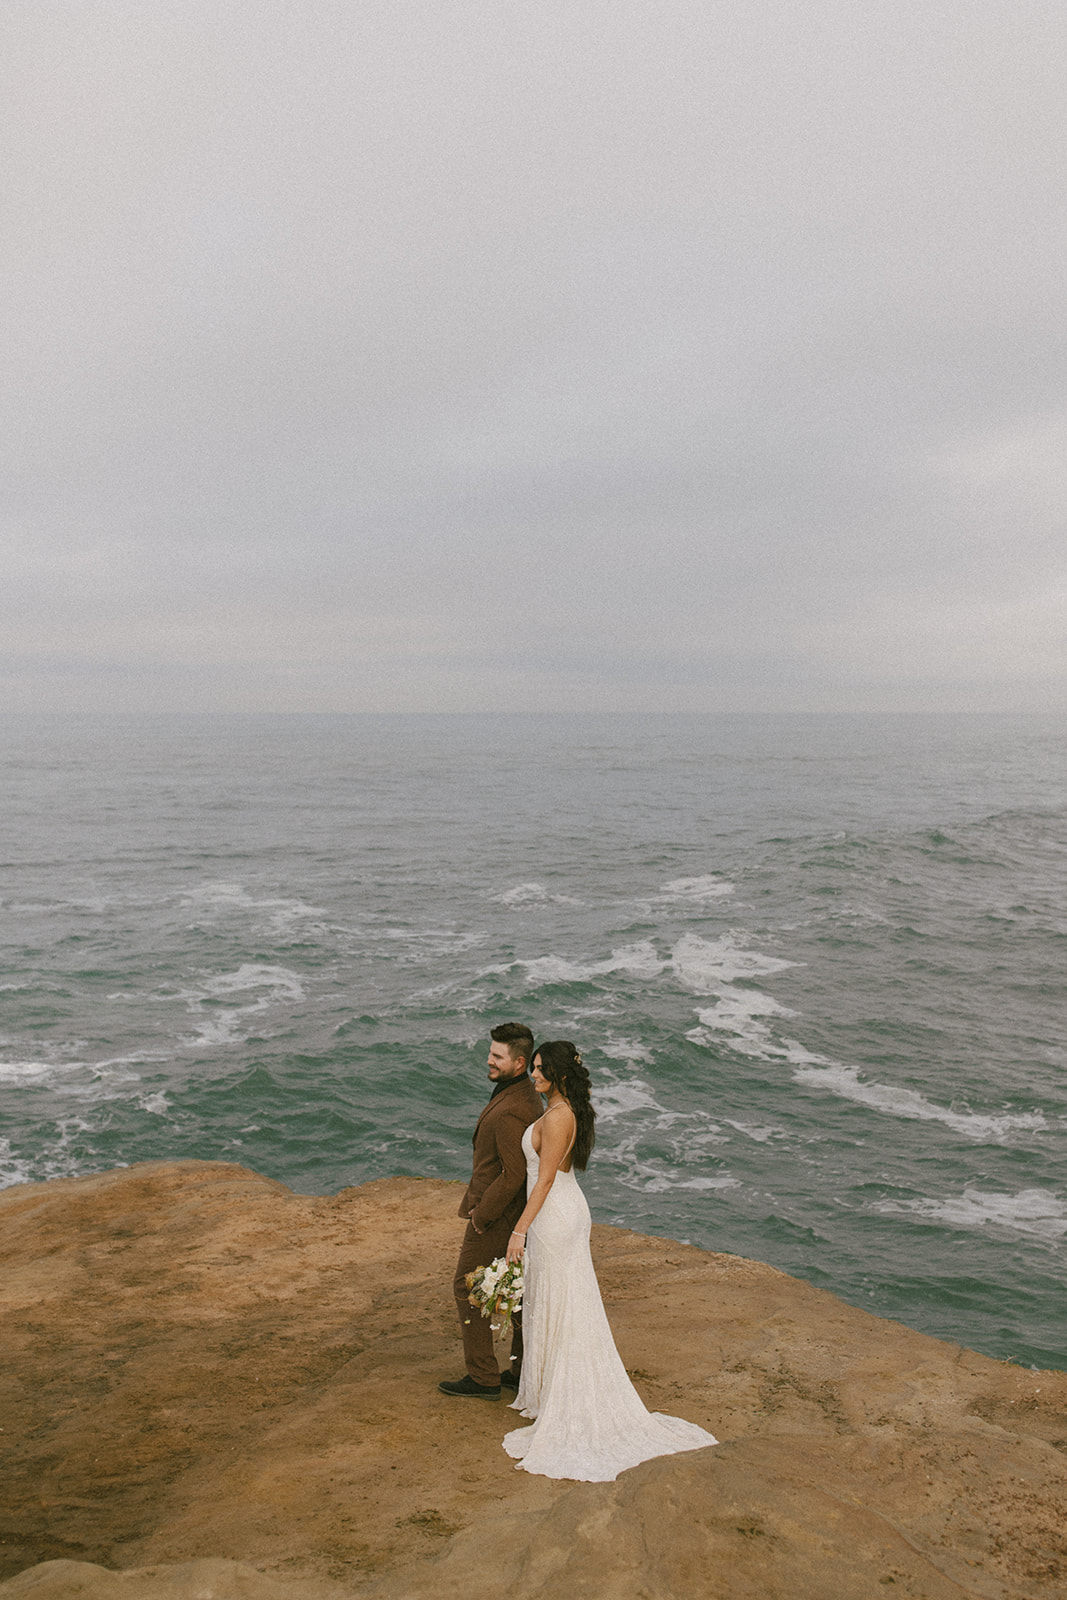
Of course, you should be in consistent communication with your wedding vendor team when building your timeline. You want everyone to be on the exact same page and know when and where they need to pull up! As your elopement photographer, I personally ask for the timing of your events anywhere between 3-6 months before your date. This gives me plenty of time to create a photography-specific timeline for us! If you’re hiring a destination elopement planner, then I will consult with them to ensure everything will run as smoothly as possible and your timeline will account for any lighting situations for photos.

Plan events around your ceremony & reception (if applicable)
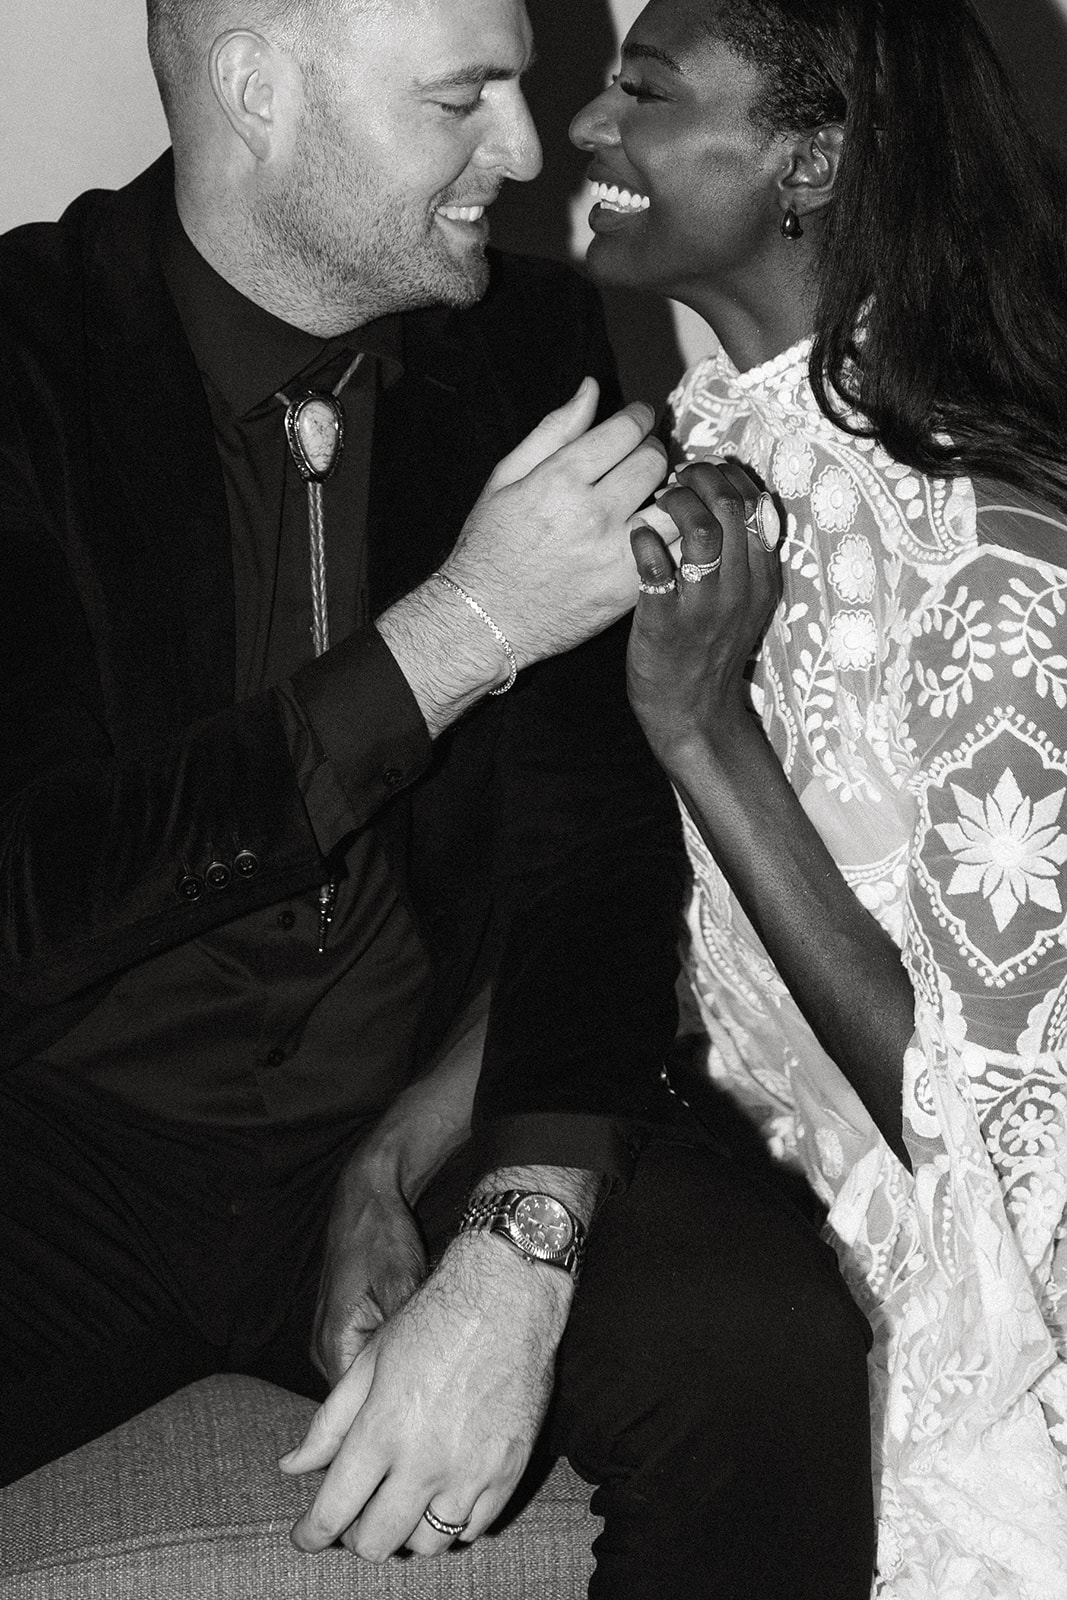
If you’re eloping, then your ceremony will be the main event that should determine the timeline for everything else; getting ready, first look, portraits, etc. However, if you’re having a reception with friends and family, that will definitely be factored in, too! For example, if you’re set on wanting golden hour portraits (which, duh, who doesn’t?), then your ceremony should not be right at sunset or anytime after. Scheduling your ceremony earlier in the day leaves us with plenty of time to take advantage of the remaining daylight!!
Don’t forget, I’ll always do tons of research for you and make timeline suggestions based on the lighting at your ceremony location. When building your timeline, being flexible and taking my expert advice will always result in a stress-free day while also leaving plenty of room for kickass photo ops 😉
Allow for flexibility
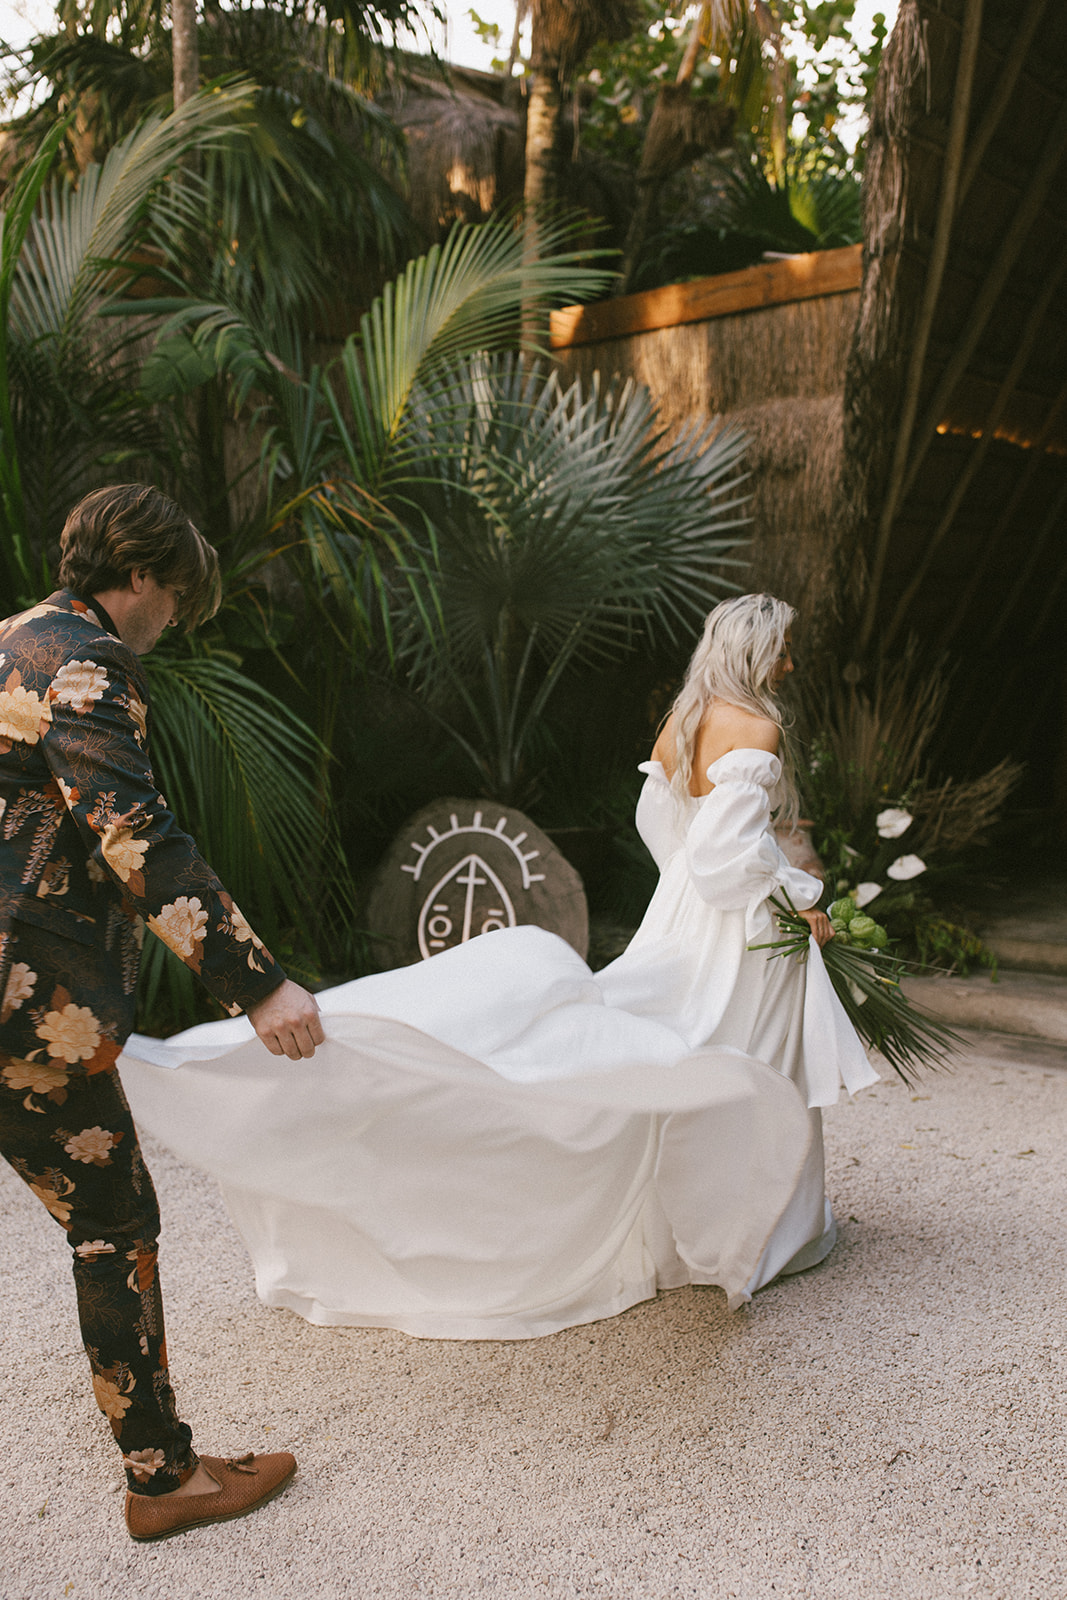
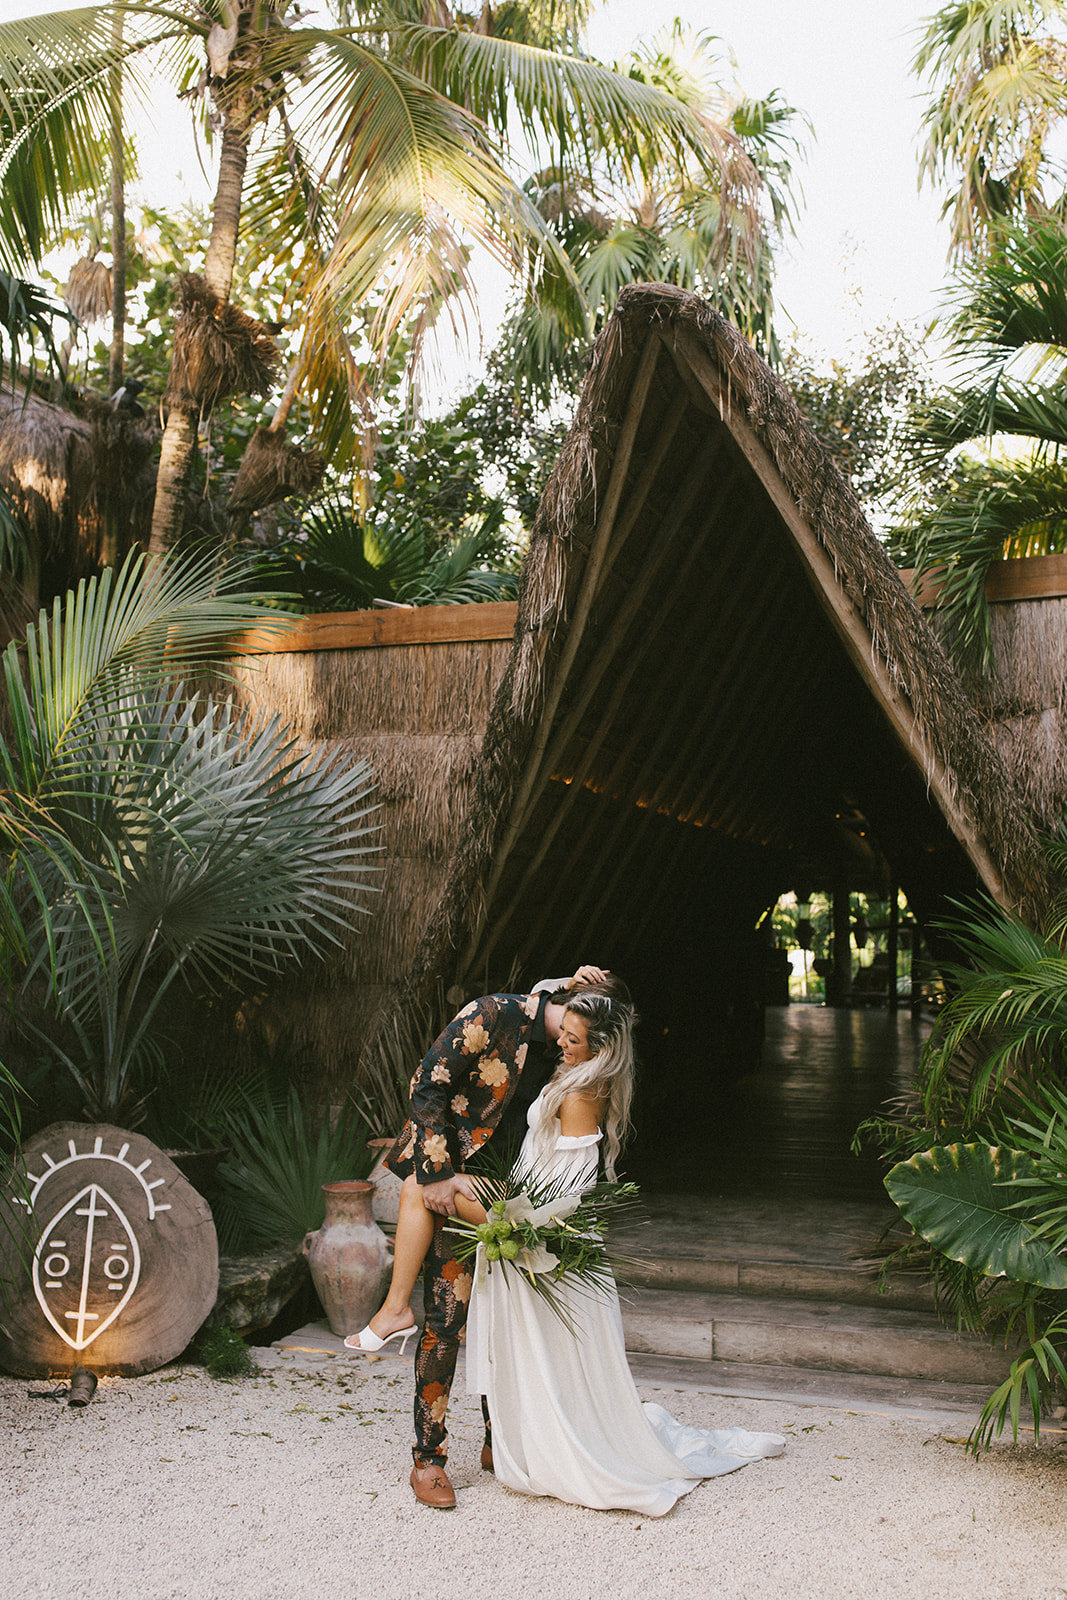
Speaking of flexibility, let’s expand on that for a second. I know how easy it can be to hold tight to your precious timeline that you’ve worked so hard to create. However there will always be unforeseen circumstances, and that’s okay! Weather, travel delays, and just planning old bumps in the road will impact our timeline no matter what. This is where flexibility comes in. To eliminate as many surprises as possible, you can add in some buffer times throughout your day. When you do that, the worst-case scenario is that we have even more time to get creative with your wedding portraits!
Build in time for fun!
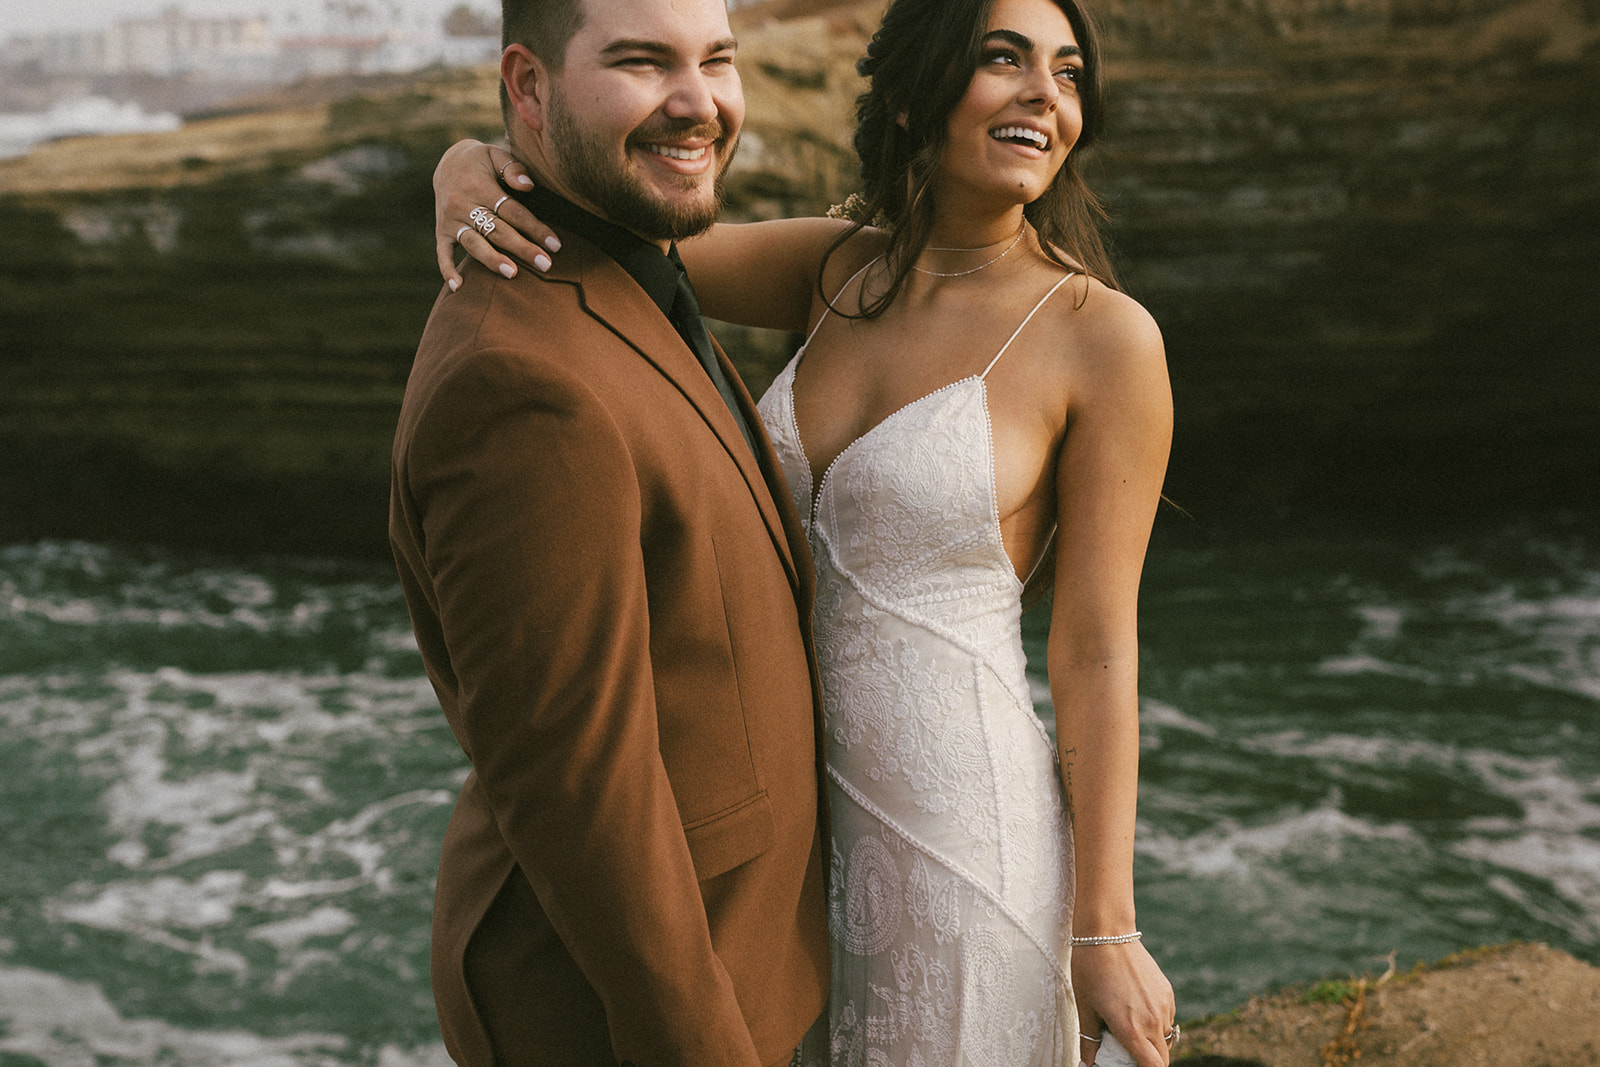
Remember, you’re having a fucking destination elopement! You better be adding in some playtime to your trip. Factor in time before/after your elopement to explore the local area, try new foods, or simply relax your ass off and enjoy yourselves at your gorgeous destination. Some couples plan for an Adventure Day, where you put your elopement attire back on (or not) and take photos at some of the epic sights near your destination. Before you ask, YES, I would love to photograph your Adventure Day.
At the same time, try not to pack in as many activities as you can possibly fit into your trip. Be reasonable, okay?? Getting married is tiring enough, and you don’t want to thoroughly exhaust yourselves trying to do everything under the sun.

Sample destination elopement timelines
To conclude, here’s a real-life timeline of a San Diego elopement for one of my current couples!
“All Day Elopement” photography coverage (floating hours)
12 p.m. – Suggested start time for glam (dependent on stylists suggested timeline and how many people)
2 p.m. – Photographer arrives at Airbnb for details + getting ready
Be totally done with glam by this time but you don’t have to be dressed
2:30 p.m. – First look at Airbnb followed by some couples portraits at the house
Ketubah signing, chill time, makeup touch-ups
3:15 p.m. – Drive to Balboa Park, exact parking spot to be provided
3:45 p.m. – Couples portraits at Balboa Park
4:15 p.m. – Complete couples portraits, walk to ceremony location
4:30 p.m. – Ceremony
Immediate family group photos following ceremony
5 p.m. – Drive to restaurant with family
5:30 p.m. – Arrive at restaurant
6 p.m. – Dinner service, cake cutting, speeches
7:30/7:45 p.m. – Sunset couples portraits
7:53 p.m. – Sunset
9 p.m. – Dinner ends, walk to bowling alley celebration, flash portraits
10 p.m. – End of photo coverage

Ready to create your destination elopement timeline?
You now have everything you need to know about creating the perfect destination elopement timeline! If you still need a photographer, what the hell are you waiting for?? Hit me up via my contact form and I’ll get back to you as soon as I can. In the meantime, check out my Ultimate Destination Wedding Planning Guide for even more tips!